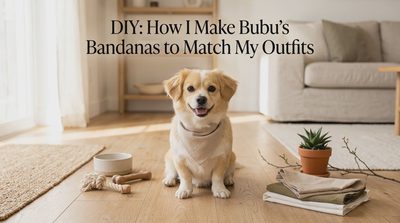

The 10-minute no-sew dog bandana that makes your pup look instantly more put-together
The Verdict (keep, return, hype, skip)
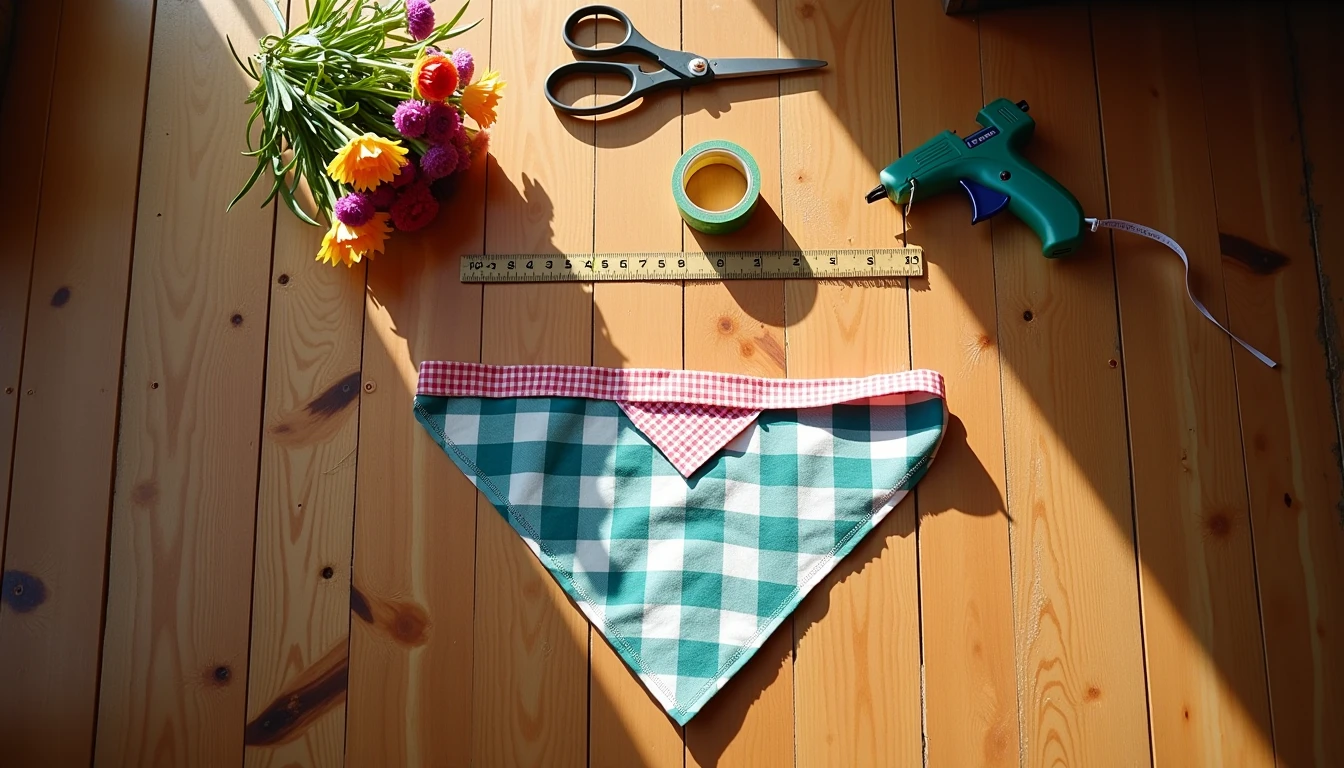
Keep it. This is the rare DIY that’s actually low-effort, low-drama, and high payoff: a no-sew dog bandana you can make in minutes with fabric, scissors, Velcro tape, a measuring tape (or ruler), and a hot glue gun. It’s the perfect “my dog has an outfit too” moment—without forcing your pup into a t-shirt or anything they’ll hate wearing.
If your dog is the type who side-eyes clothes, this bandana is the cheat code. Wrap, Velcro, done. Bubu approved (and yes, I’m fully picturing him strutting through the Arts District like he pays rent).
What I’m Wearing / What’s New (tools, materials, and the exact cut)
The whole vibe starts with the fabric. The source keeps it open—just “a piece of fabric with a fun pattern,” either from a local crafting supply store or ordered online. Translation: pick something you won’t cry about if it gets drooled on, stepped on, or dragged across the sidewalk at the dog park.
You’ll need:
- A piece of fabric with a fun pattern
- Scissors
- Velcro tape
- A measuring tape or a ruler
- Hot glue gun
- A dog (the most essential accessory)
The actual bandana is two pieces:
1) A square piece of fabric (size depends on your dog’s neck)
2) A collar strip that wraps around the neck
Here are the exact measurements the source gives (so you’re not guessing):
- If your dog’s neck is 12 inches, you’ll use 16 inches of fabric (at least 4 inches bigger than collar size).
- For a 12-inch neck, cut an 8" x 8" square.
The source also includes a mini chart for common neck sizes:
- 17-inch neck: 11" x 11" square
- 15-inch neck: 9" x 9" square
- 11-inch neck: 7" x 7" square
Then cut the collar strip:
- 16" x 2" strip (this becomes the wraparound collar)
Style note from me: if you want that “intentional” look in photos, go for patterns that read clearly from a distance (bolder prints, higher contrast). Tiny prints can look like visual noise once it’s folded.
How to Style It (yes, your dog can match you without being cringe)
A bandana is basically the dog version of a great accessory: it does the most when the rest of the look is simple.
Here are easy, actually-wearable ways to make it look like you planned it:
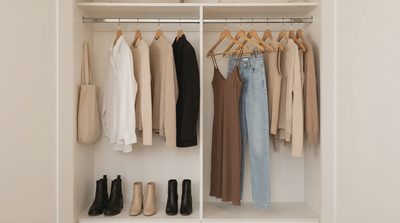
- The “twins” move: The source literally calls out making a bandana that matches an article of your clothing. If you’re wearing a simple outfit, matching your dog’s bandana to one color in your look instantly makes it feel coordinated (not costume-y).
- Holiday/party/birthday pop: The source suggests it for holidays, parties, birthdays—this is where loud fabric is allowed. Your dog is the guest of honor. Let them be extra.
- Dog park standout: If your dog blends into the sea of beige doodles (no shade), a brighter pattern makes them easier to spot.
Real-life tip: keep one “default” bandana fabric that goes with everything (a pattern you won’t get sick of), then rotate seasonal ones when you feel like being festive.
Sizing & Fit Notes (true to size if… size up if…)
This DIY is forgiving, but sizing is where people mess up.
True to size if: you measure your dog’s neck loosely and follow the “at least 4 inches bigger than your pet’s collar size” rule. That extra length matters because you’re wrapping it and closing it with Velcro tape.
Size up if: your dog is fluffy, between sizes, or you just prefer a looser fit. The project is designed to be easy to adjust because you’re not tying it—you’re using Velcro tape to close it.
How it’s constructed (so you understand the fit):
1. Measure your dog’s neck loosely.
2. Cut the square (based on the chart).
3. Cut a 16" x 2" collar strip.
4. Fold the collar strip and glue it down (fold one side to halfway and glue; repeat on the other side).
5. Fold about 1 inch of each end of the collar and glue (cleaner ends).
6. Flip the square “upside down” and apply glue corner-to-corner (diagonal line).
7. Lay the collar along the glue line (slightly below the corners for a cleaner edge when folded).
8. Fold the two ends of the square over the collar and glue around the edges.
9. Add a 1–2 inch piece of Velcro tape to opposite sides of the collar.
10. Wrap it around your dog’s neck and Velcro it closed—no tying required.
Practical caution: hot glue is fast, but it’s hot. The source literally warns: be careful not to touch the hot glue. Also, this is not the moment to DIY while your dog is underfoot trying to “help.”
Worth It? (price-to-wear ratio + who it’s for + what to skip)
This is worth it because it’s simple and inexpensive (the source’s words), and it gives you the same “boutique accessory” energy without paying boutique markup. Plus: you can make more than one, and you’re not locked into whatever prints are trending in pet stores.
Worth it if:
- Your dog doesn’t tolerate shirts/clothes (the source calls this out as an alternative).
- You want an easy accessory for holidays, parties, birthdays, or dog park days.
- You like the idea of customizing—seasonal prints, matching moments, or personalization.
Skip it if:
- You don’t want to deal with a hot glue gun at all (this method depends on it).
- Your dog refuses anything around their neck, even a bandana.
Easy upgrades (still realistic, not craft-store chaos):
The source suggests a few ways to decorate beyond fabric choice:
- Add your dog’s name with fabric markers (meant to sink into fabric and withstand washing), or use puffy paint or iron-on letters.
- Try patchwork or iron-on patches (a pro dog trainer and DIY enthusiast, Lovelia Horn, calls patchwork extra cute).
- Add embroidery with a soft-tipped needle and colorful thread (by hand or with a machine, per the source).
My honest take: personalization is cute, but don’t overdo it. One strong detail (name OR patches OR embroidery) usually looks more elevated than piling on everything at once.